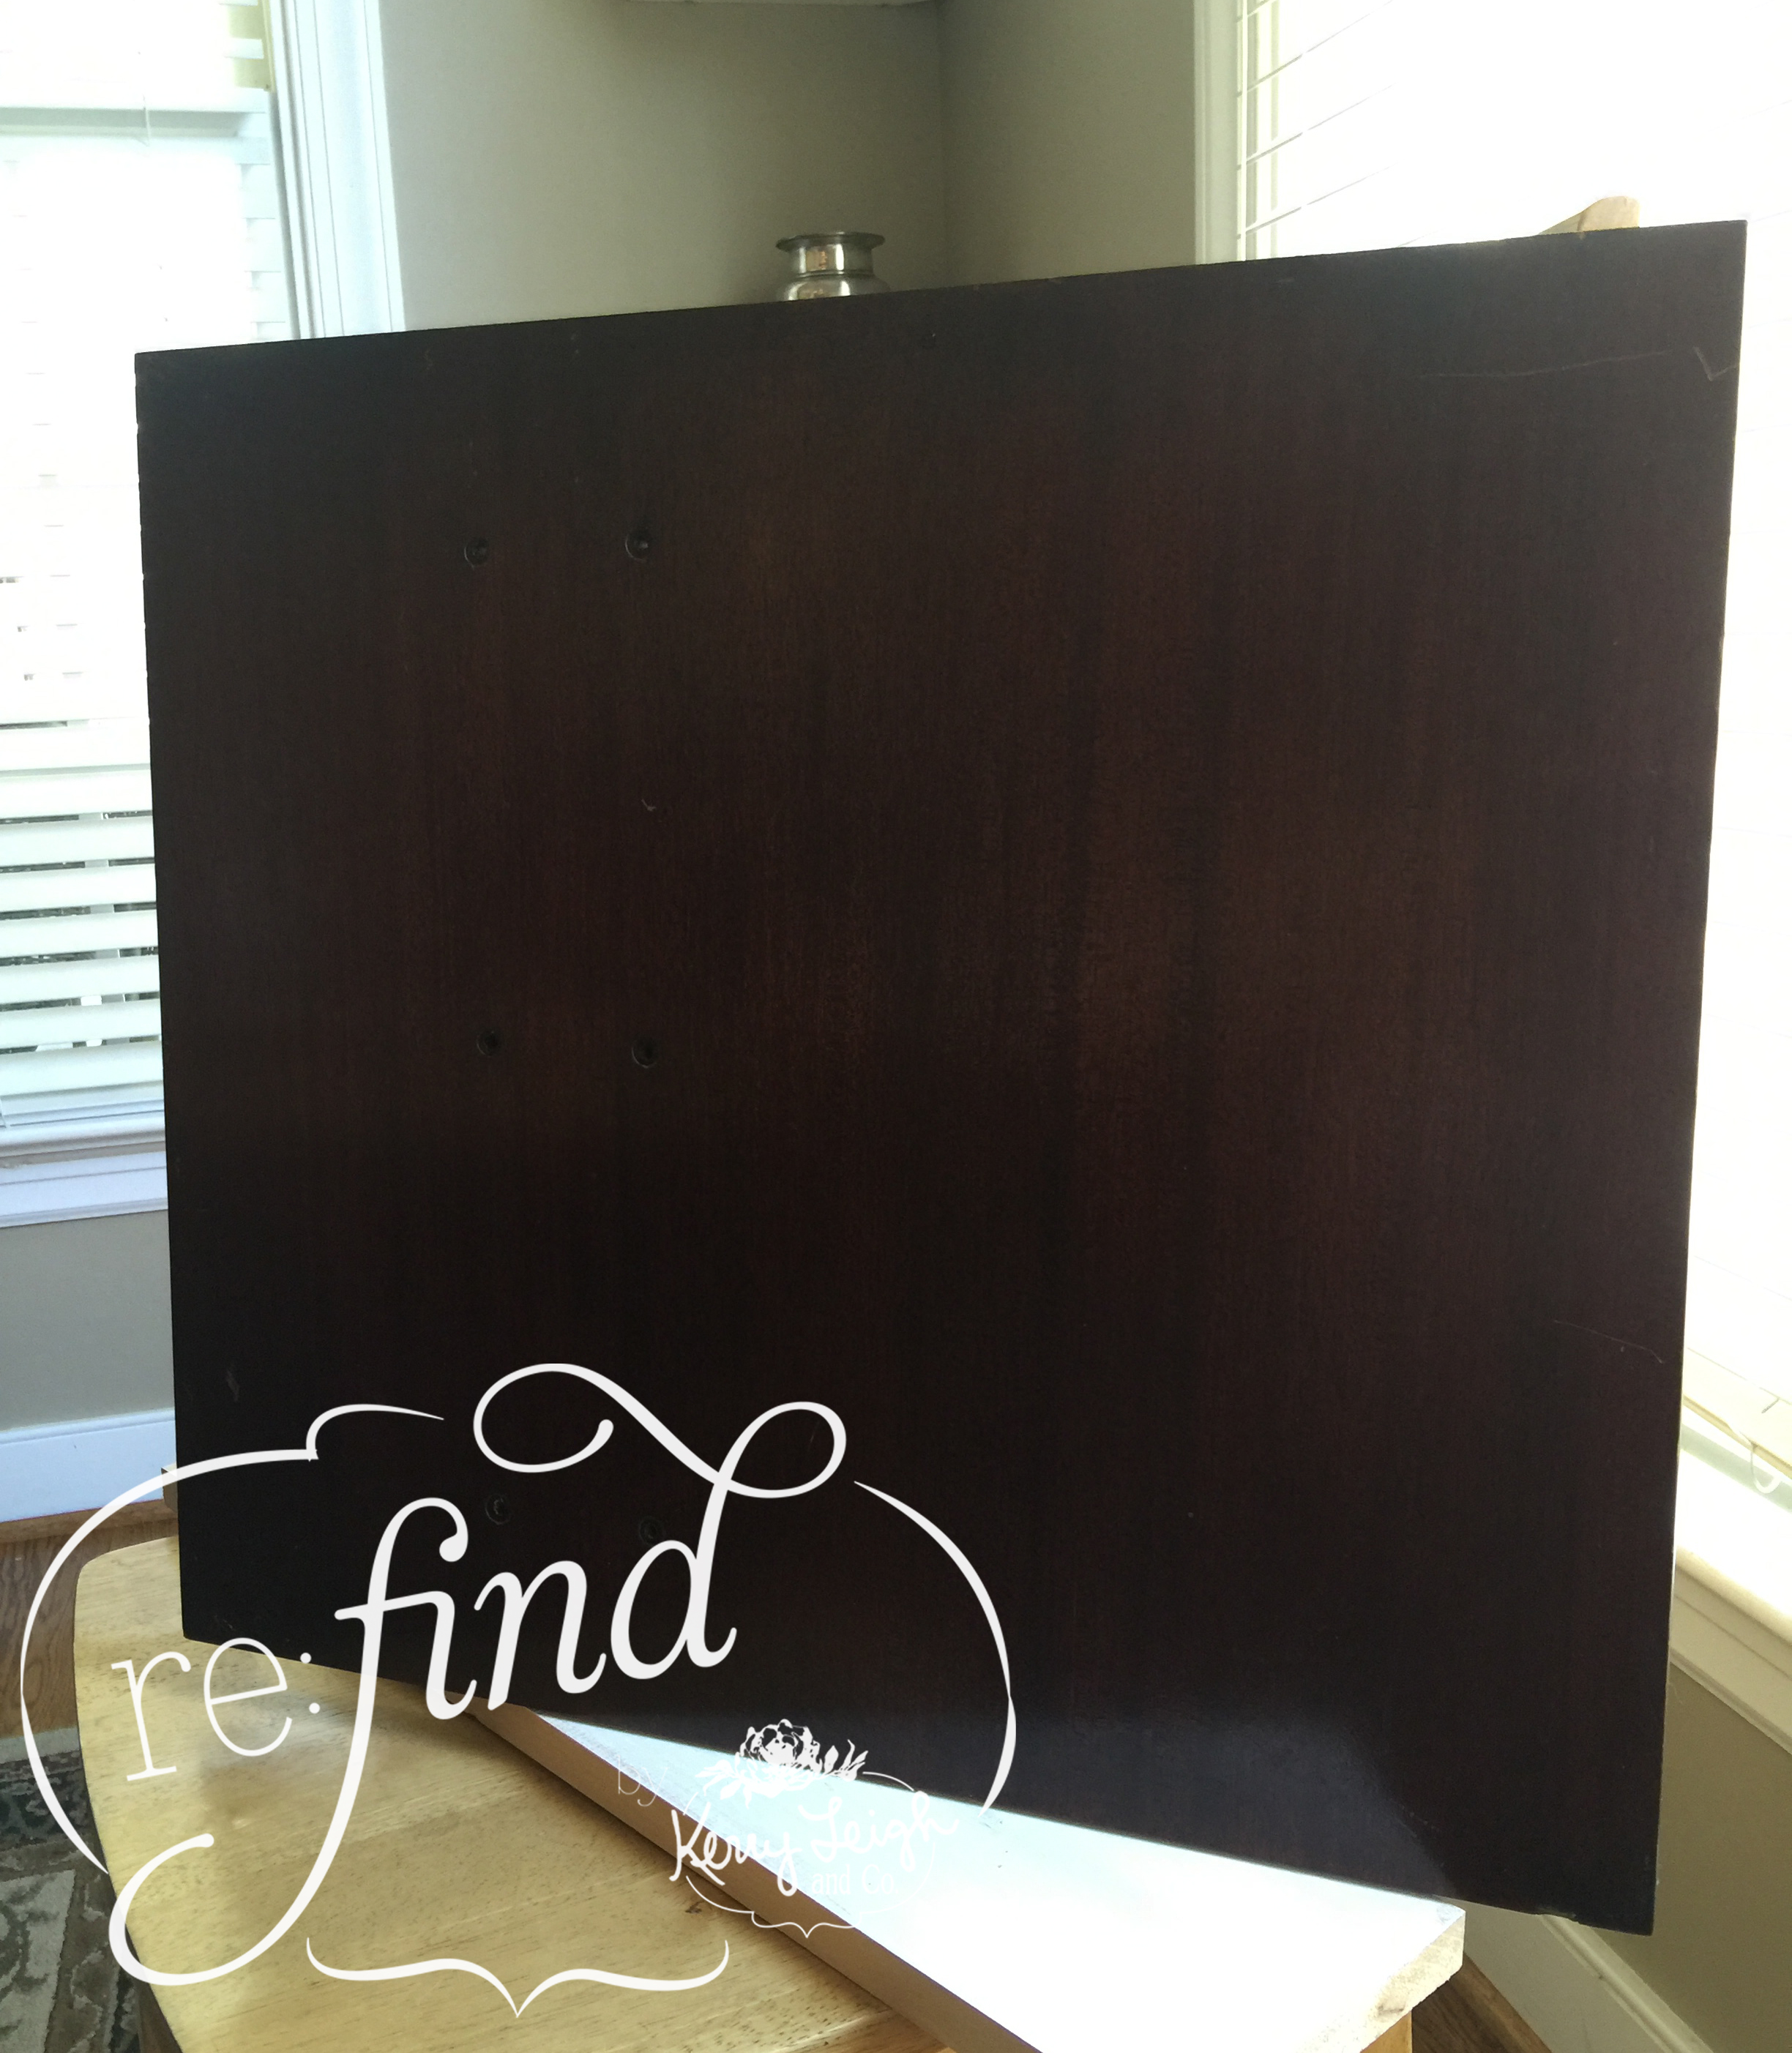
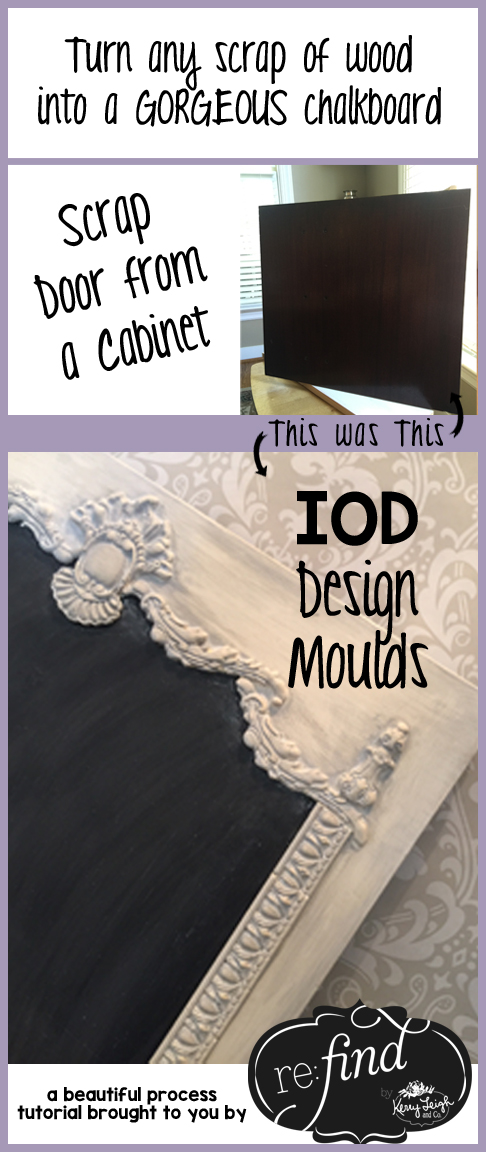
Where have these been all my life? When I first saw what gorgeousness can be created with Iron Orchid Design Moulds, my heart skipped a beat. In fact, every time I see anything embellished with these easy-to-use products, I fall in love all over again! (Check out more projects on the IOD website!) Here I will show you how I turned this old cabinet door I removed from a furniture project into a gorgeous chalkboard!
First, I ordered three of my favorite silicone moulds from Iron Orchid Design on Amazon. There may be a retailer in your area, you can check here. I am impatient an Amazon Prime member so I went that route and my moulds were delivered to me in less than 48 hours.
. . . . .
(Amazon links are attached to my affiliate account, other that I am not compensated for this post and truly love the products I work with!)
. . . . .
Next, I decided instead of using the typical Iron Orchid Paper Clay, I wanted to try my favorite putty and modeling compound, Durham’s Water Putty. Durham’s can be found at most any hardware store or here on Amazon.
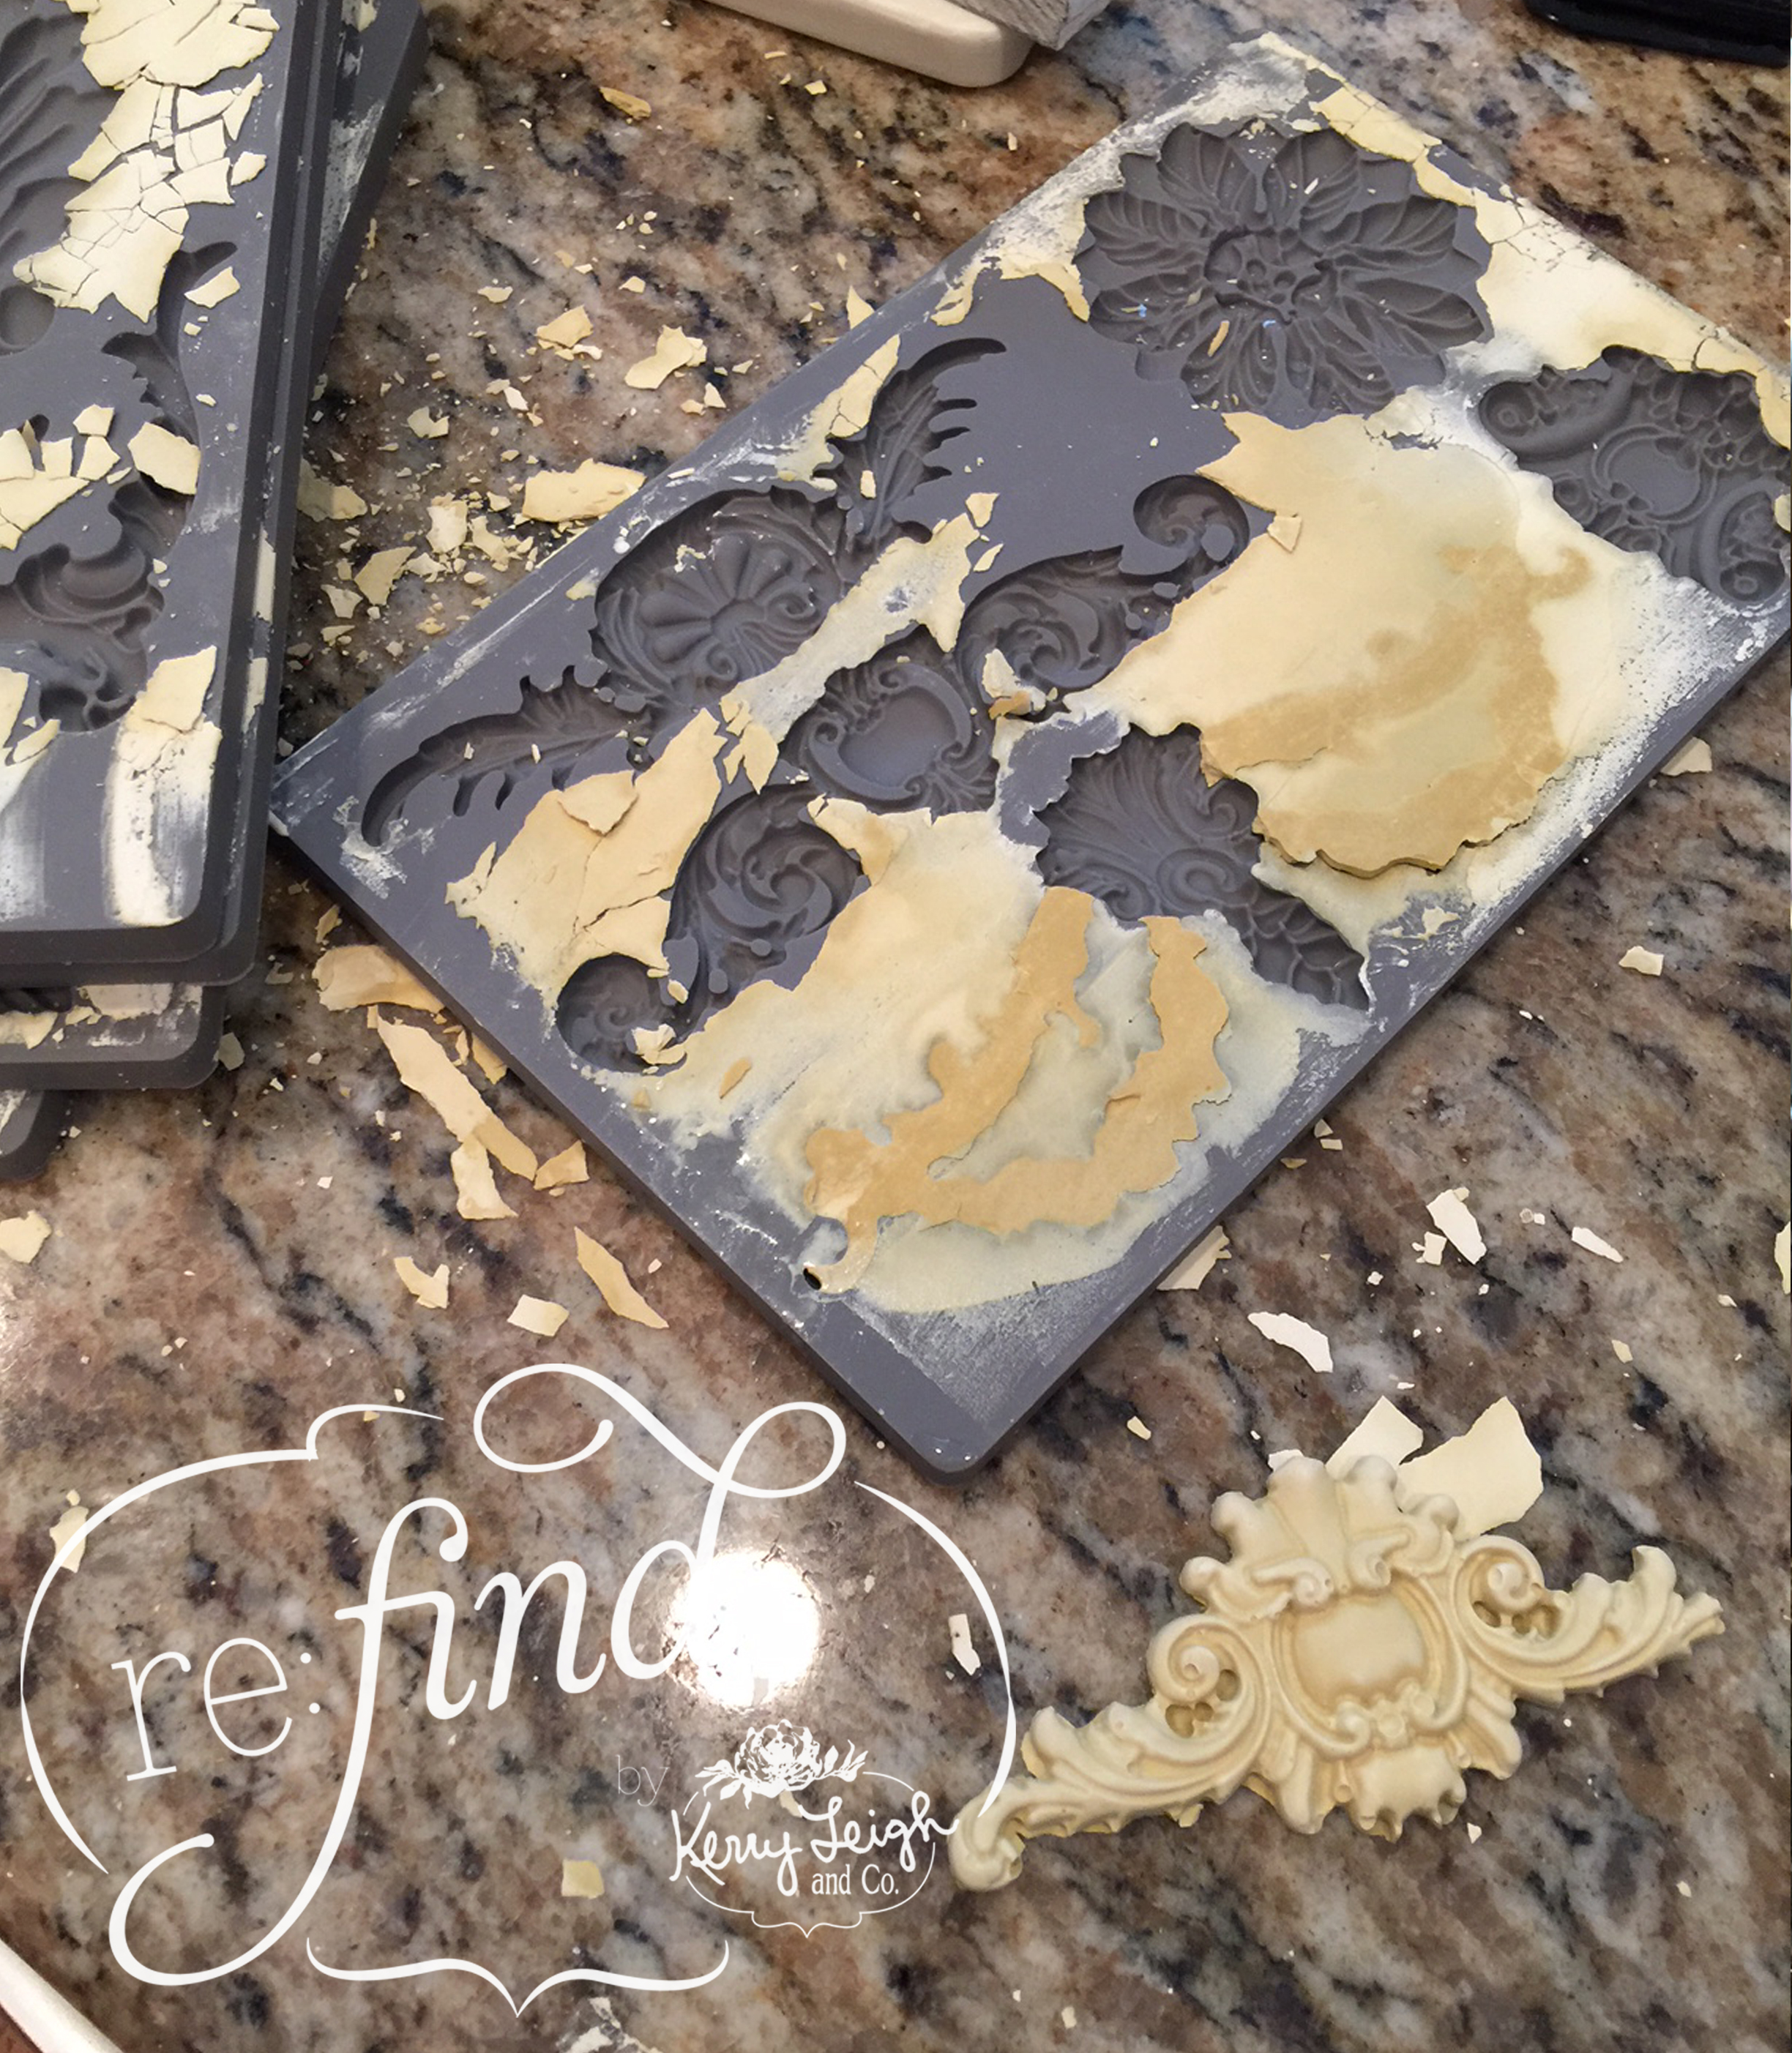
It took several test runs to get the ratio of water to powdered putty just right, but what gave me the best results was a mixture with the thickness and consistency of pancake batter. When using Durham’s Water Putty, you’ll want to mix up small batches and only what you will need at the time as it sets quickly and will become unusable in less than 10 minutes.
So after you figure out the consistency that works best, you will need to mould several batches of the same pieces. I knew I would use many of the long strips for framing out the chalkboard so I mixed and moulded batch after batch until I had enough for my project. I have since purchased 3 more moulds so I can produce 4 of what I need at one time.
If you don’t have any scrap doors or furniture pieces to upcycle, you can use any wood as long as it’s not too thin and has a fairly smooth textured surface for writing on the chalkboard. You’ll want to fill any cracks or holes (Durham’s Water Putty is perfect for this too!) and sand to smooth out any ridges. If your piece is shiny or laminate wood, it may be a good idea to prime it first before you apply the moulded pieces.
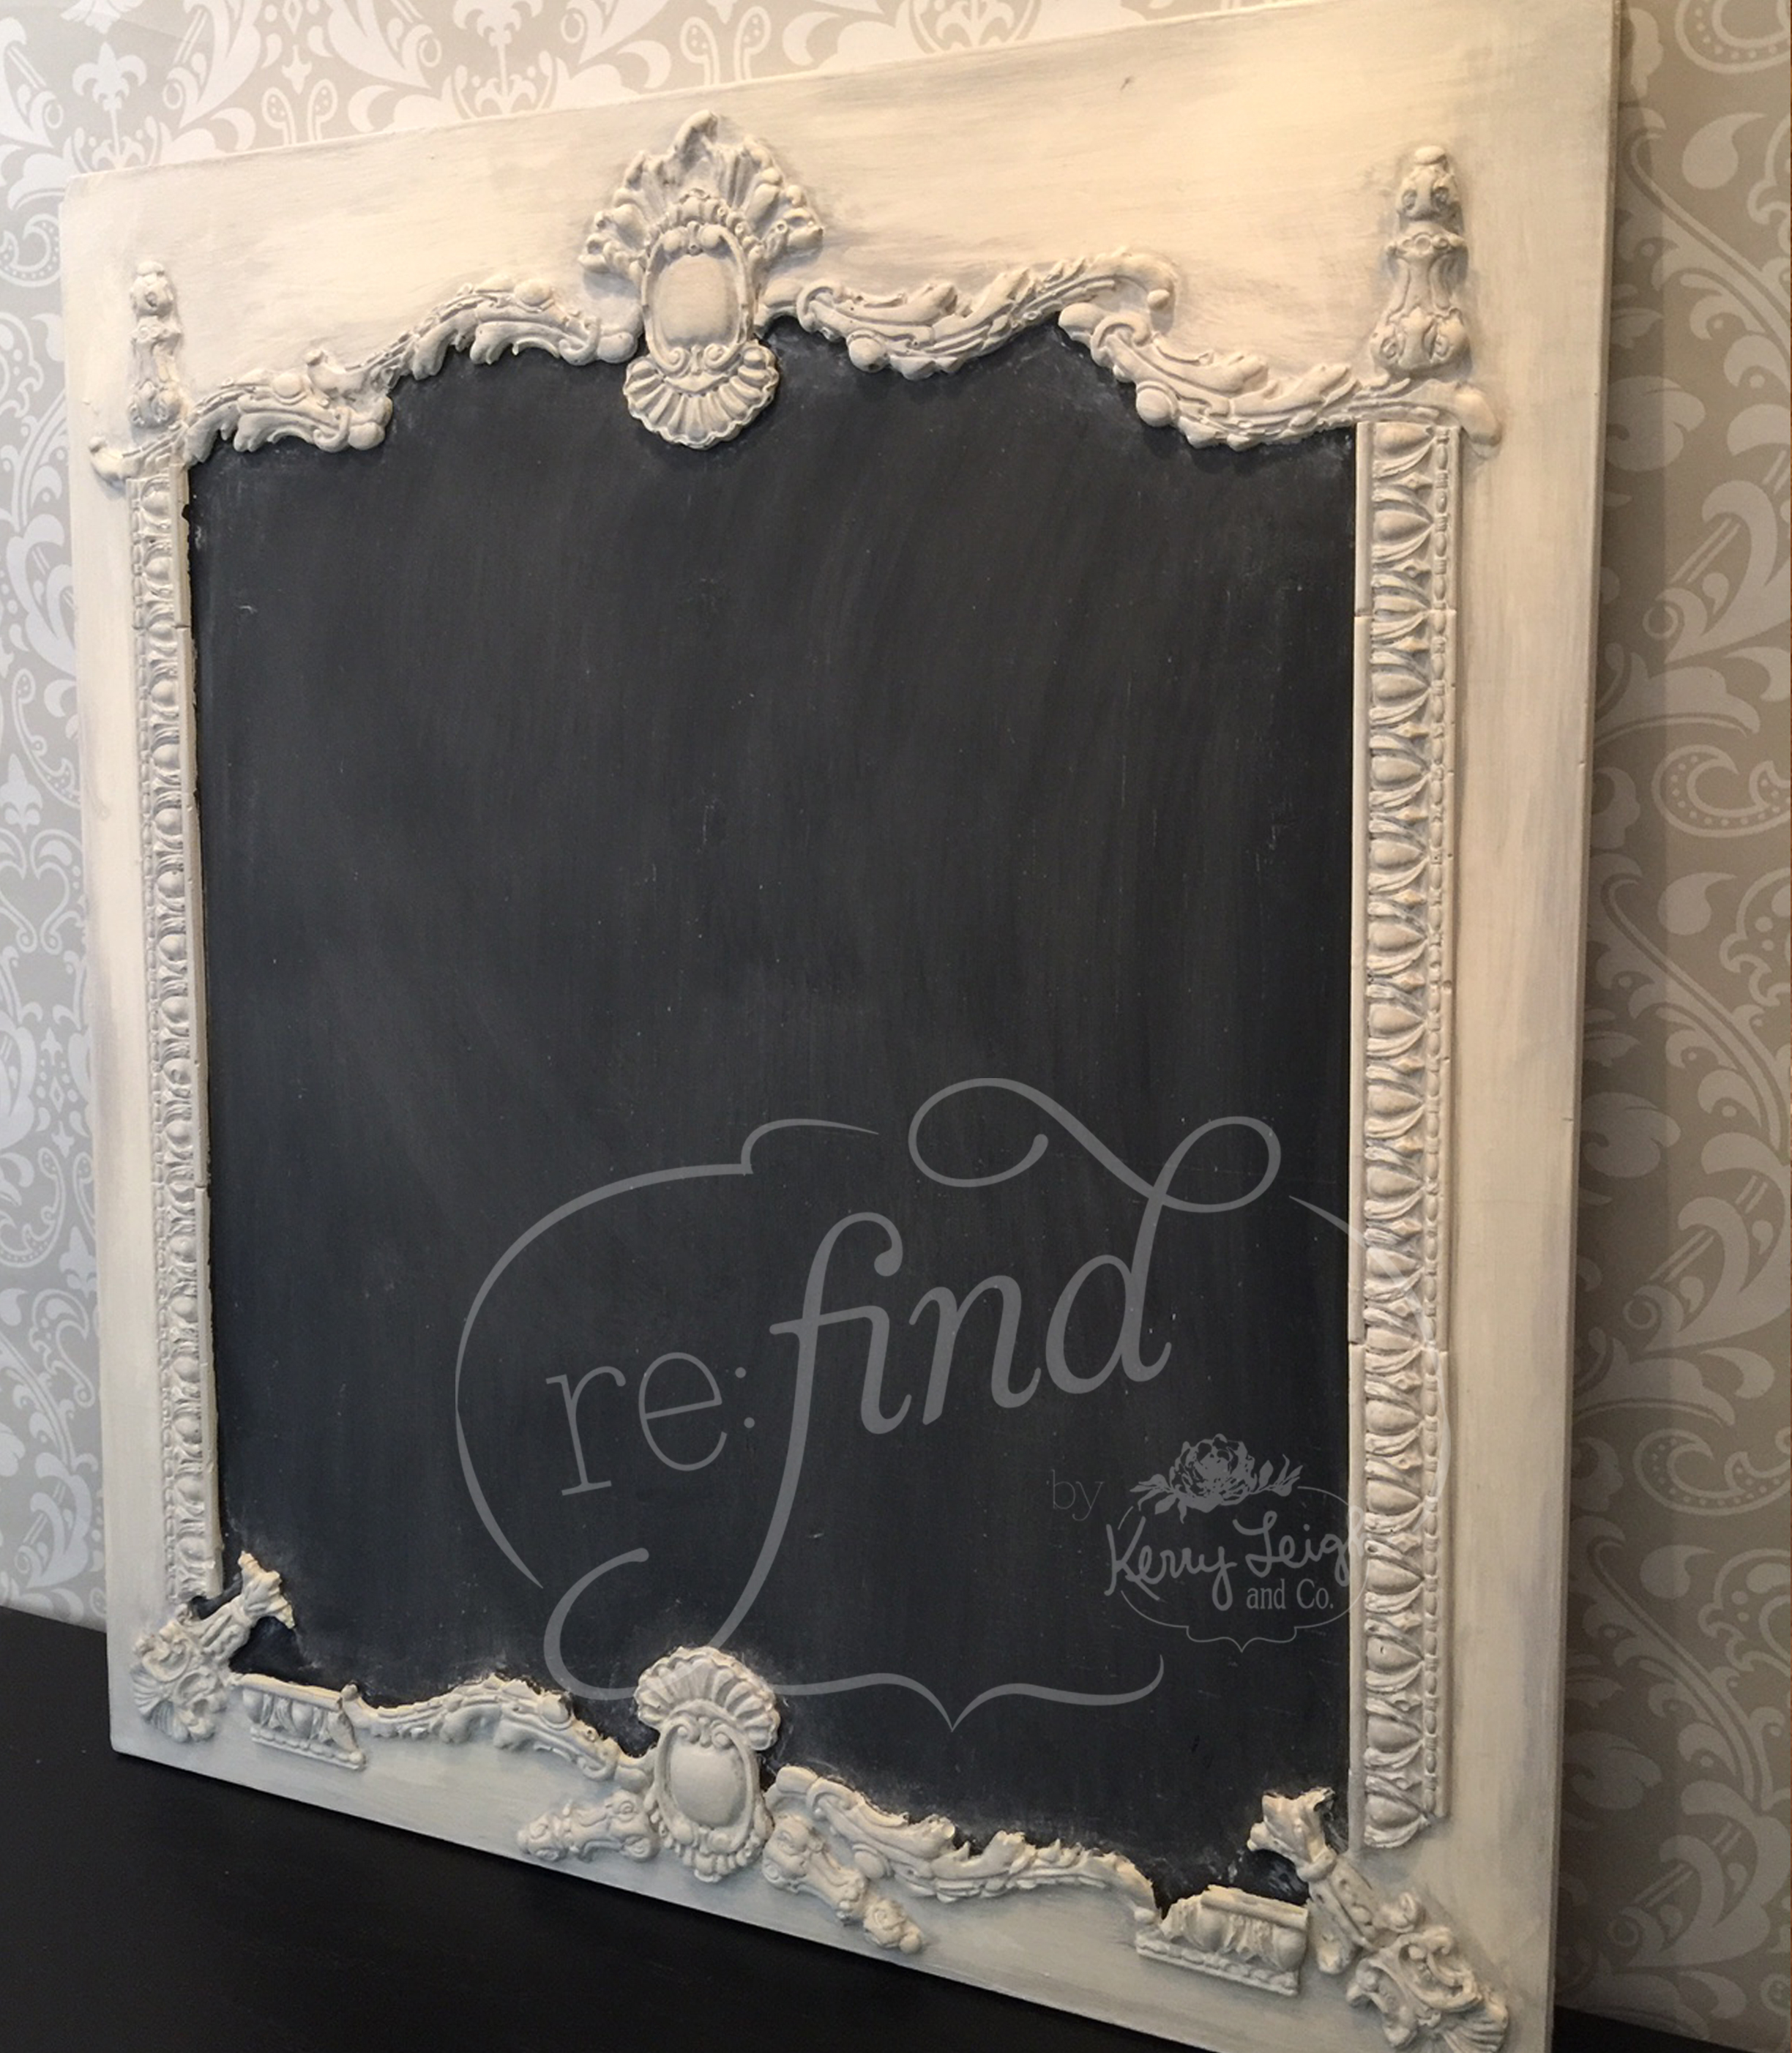
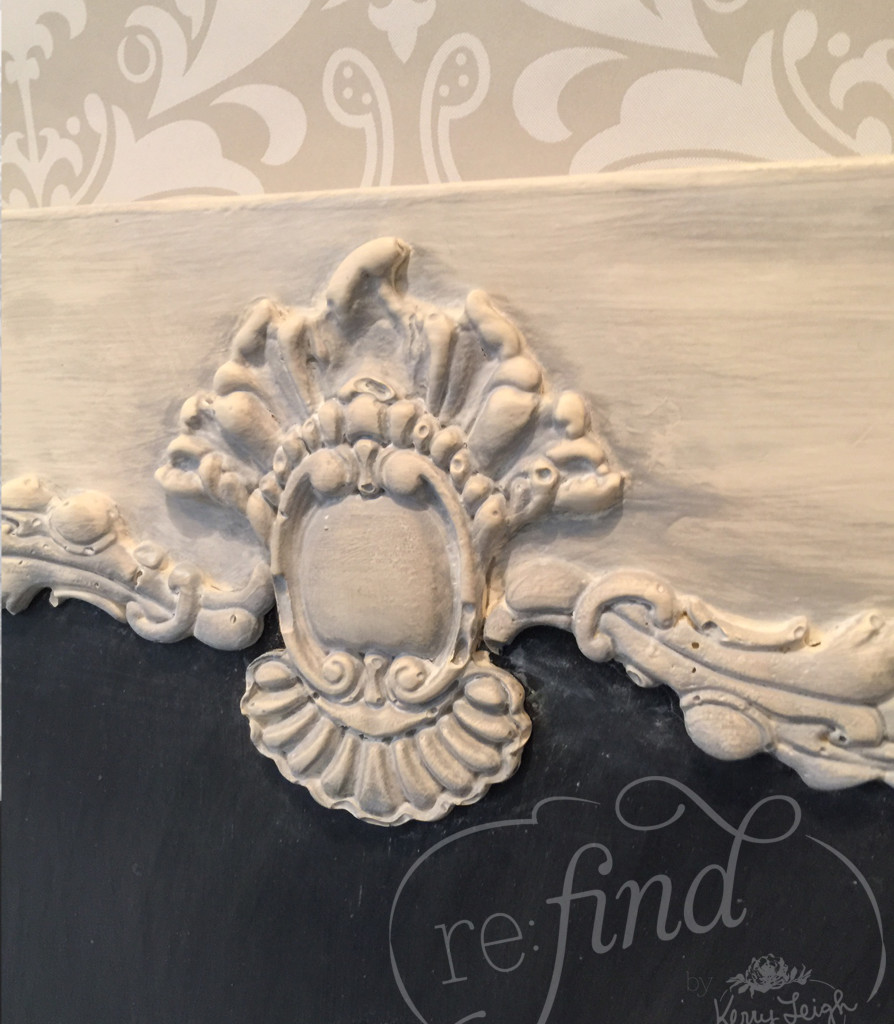
Once you have enough of your core frame pieces and several different decorative pieces moulded, you’ll want to lay them out on your board. Don’t be afraid of broken pieces! I love the look of broken and ragged edges and actually intentionally break pieces to give it a more authentically hand-made look. Keep arranging and rearranging until you get a look you are happy with.
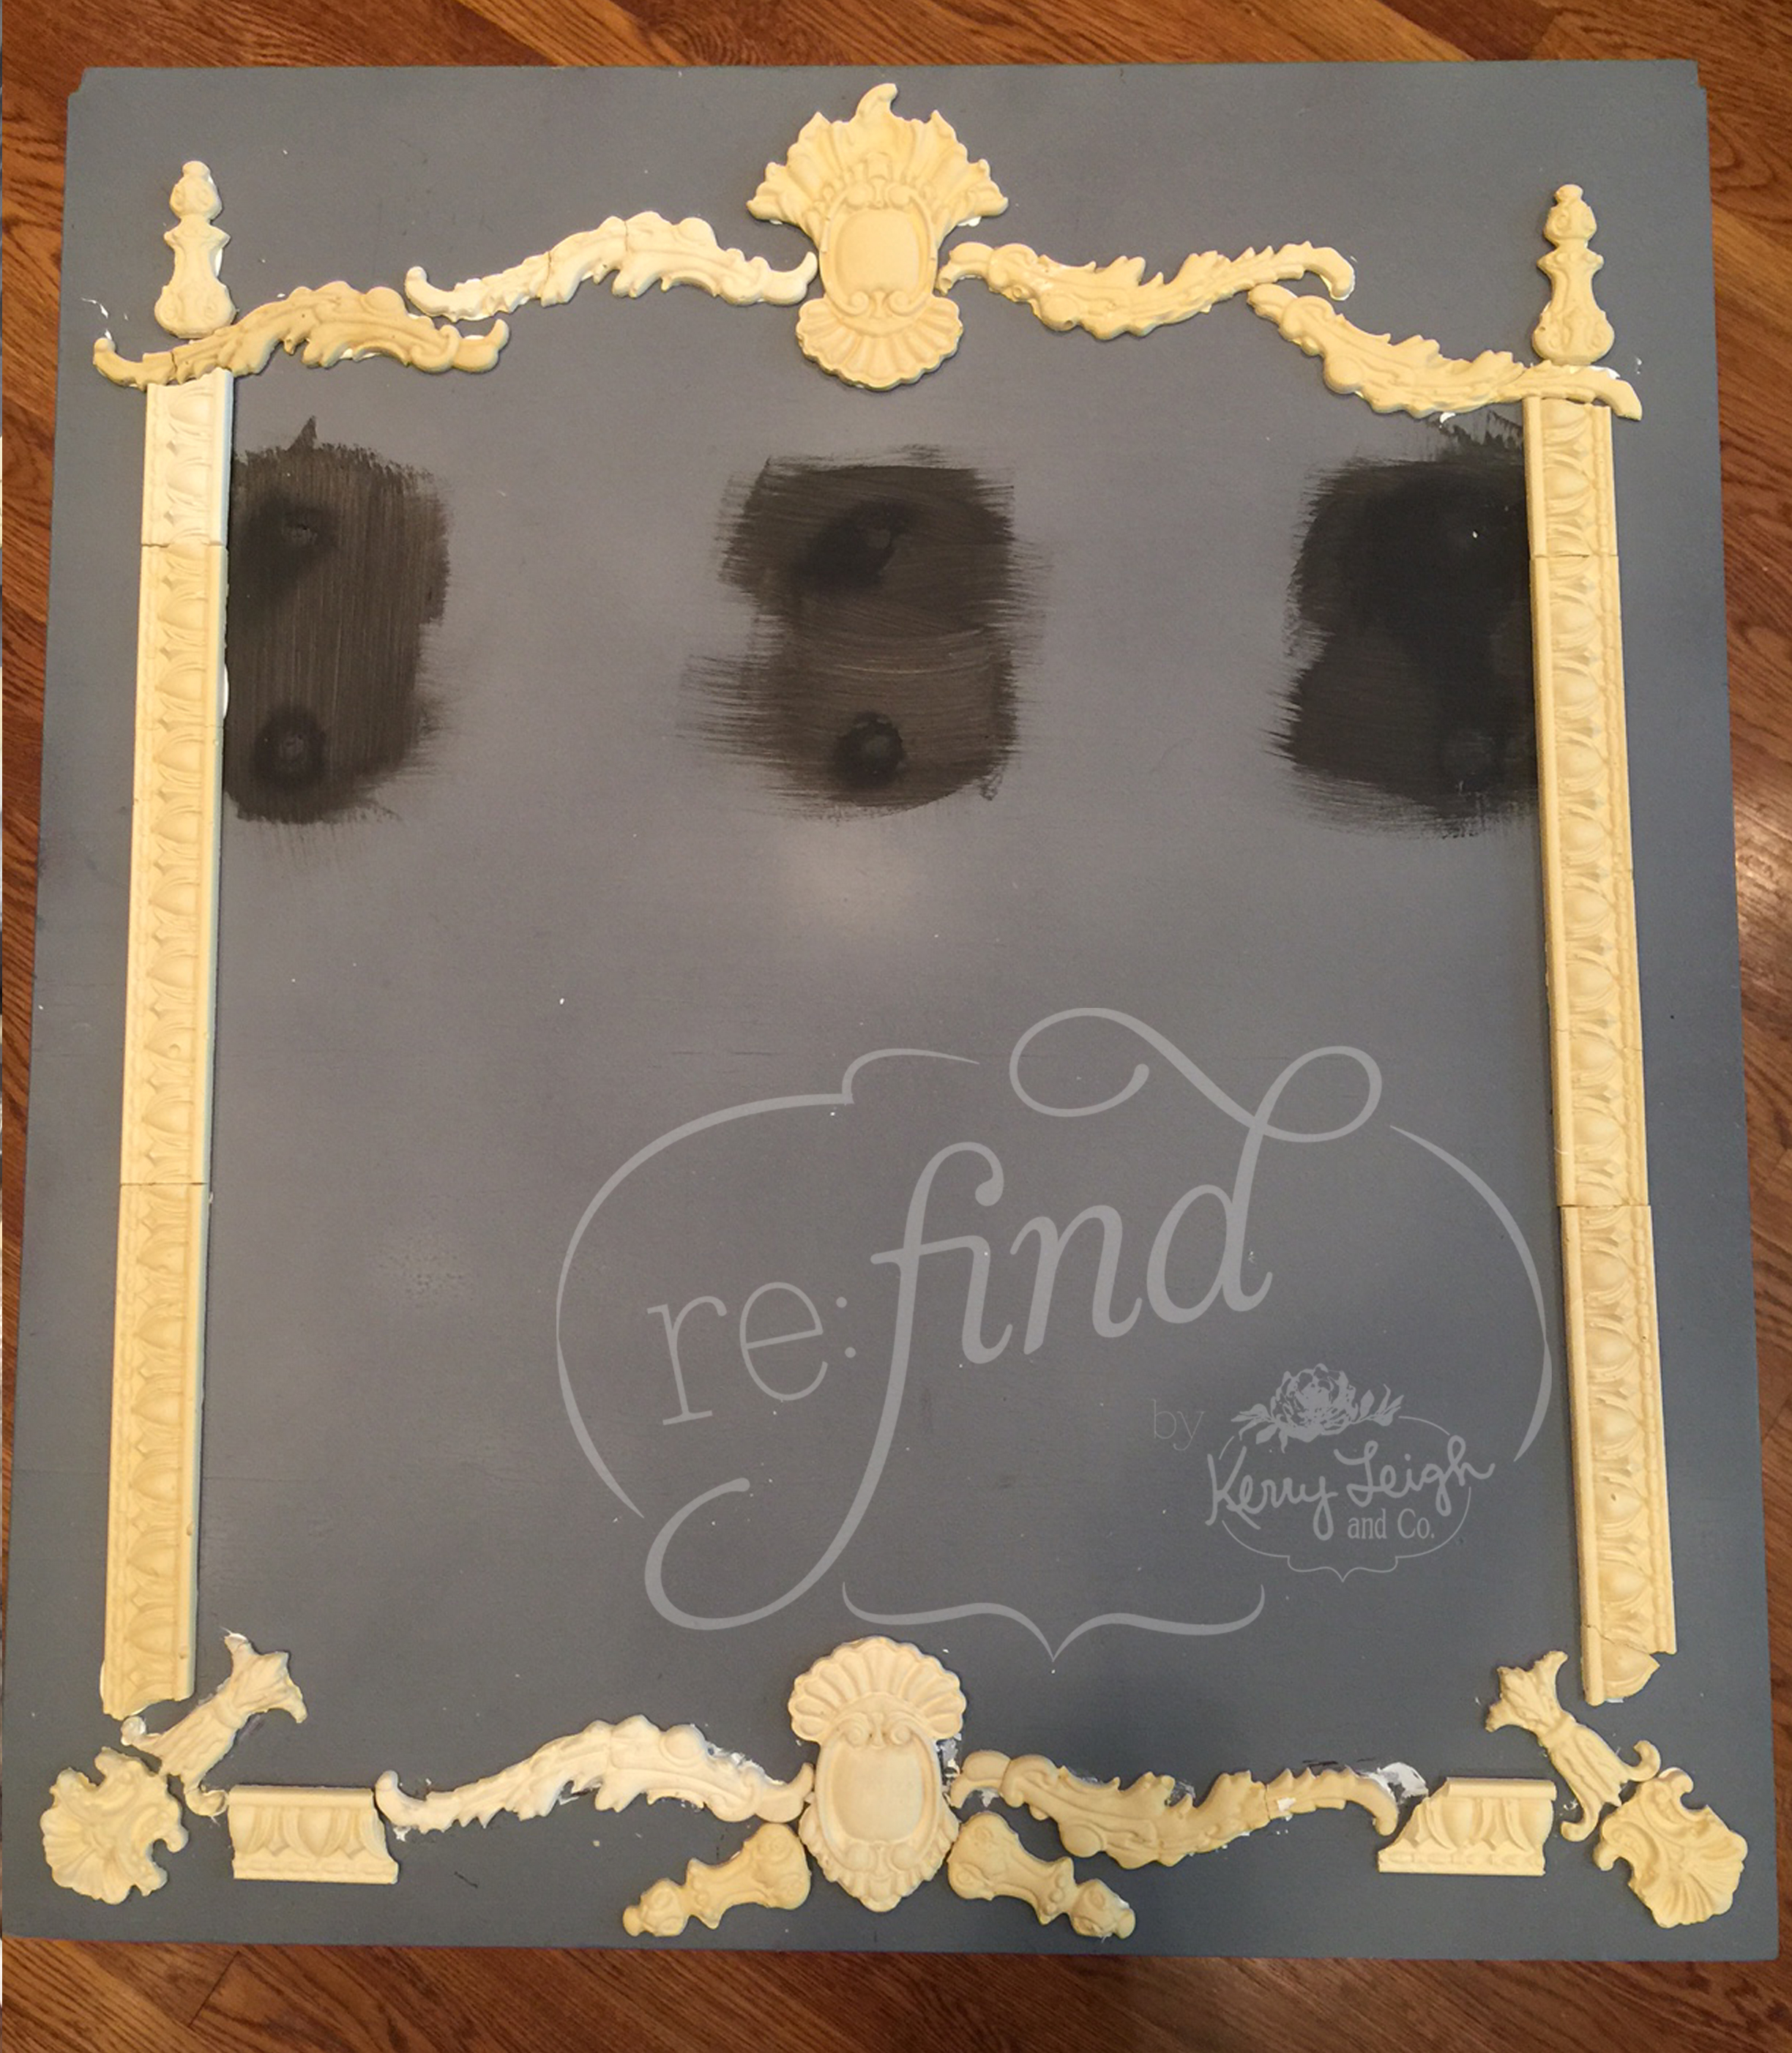
When you have the design finalized, you will paint the inside area with any Black Chalkboard paint, American Crafts is my favorite. Next, glue the mould pieces down with your favorite adhesive. I prefer a waterproof silicone caulk because it’s a great adhesive that doesn’t have an offensive smell. It also allows me a few minutes to move and push the pieces around before it sets and it doesn’t shrink or swell.
Once all the pieces are glued, I let them dry overnight. The next step is to paint the outer edges and the moulded pieces. For this particular chalkboard, I painted the outer parts with Antique White by General Finishes and used a watered down wash of Antique White mixed with a small amount of Lamp Black to create the washed and worn grey color you see. Once all the paint was dry, I used Flat Out Flat Top Coat to seal the paint, being fairly careful not to get the top coat on the black chalkboard paint.

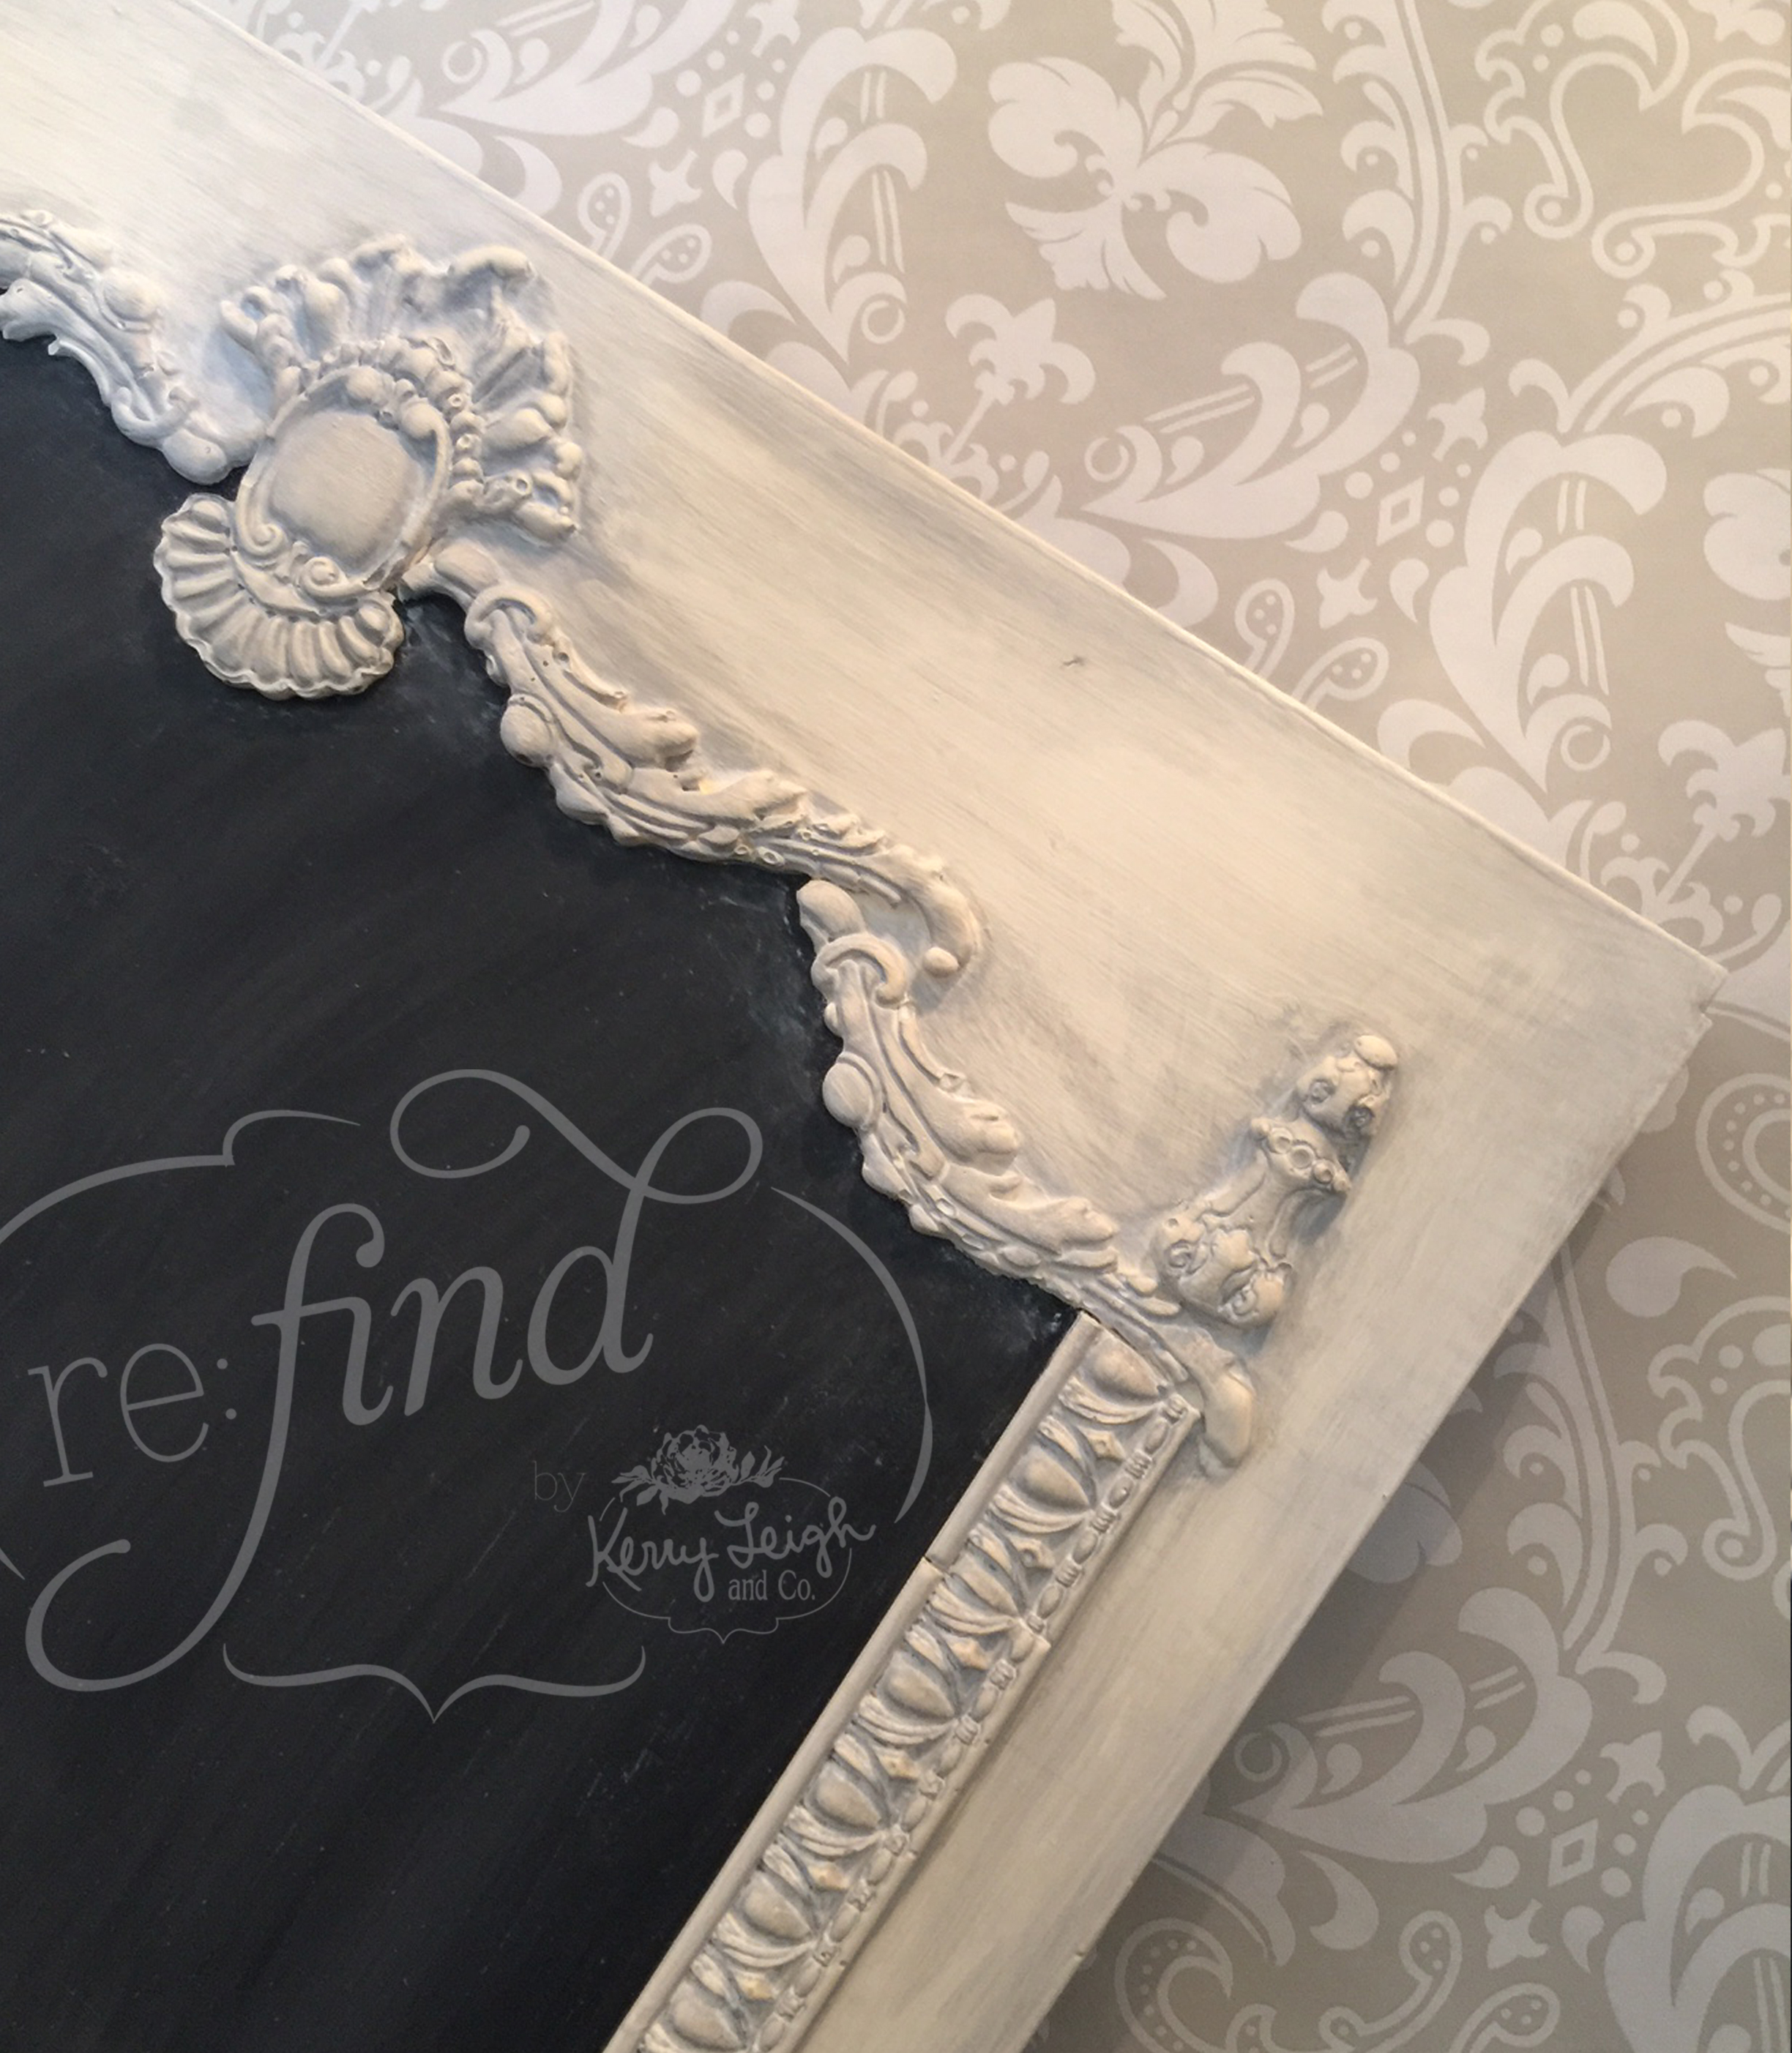
And that’s it! Isn’t it gorgeous? I attached strong metal picture hangers to the back and it’s in the store for sale!

I love your project, Kerry! Such an awesome way to use these amazing Moulds…and I too have been a fan of Durham’s Rock Hard Water Putty for over 20 years…love this stuff!
Thanks Heather! I would love to see how you use Durham’s. LOVE that stuff!
Question, could any of these molds produce a curved mold, to be used on the front of a chair leg that is rounded on front?
If you use the paper clay, it’s very easy to shape and form the moulds before they dry completely. Thanks for asking!
This is wonderful information. Kerry, you are so creative.
Thanks Nancy :)
Hi Kerry,
Can you share how much you sell them for?
Thank you so much!
Kathryn
The one in this post sold for $75, thanks for asking :)